Micro-needling at Home: Pros, Cons, and Best Devices
Micro-needling is a popular skincare technique that helps improve skin appearance and texture. It was once only for dermatologists and skin care clinics, but now we can do it at home. This DIY method promises to rejuvenate skin and boost collagen, helping you achieve a more youthful and radiant look. Before starting at-home micro-needling, it is important to know the benefits and risks. This blog offers a complete guide on the pros and cons of home devices. It helps you choose the best options for your needs.
Key Benefits / Why It Matters
Understanding Micro-Needling
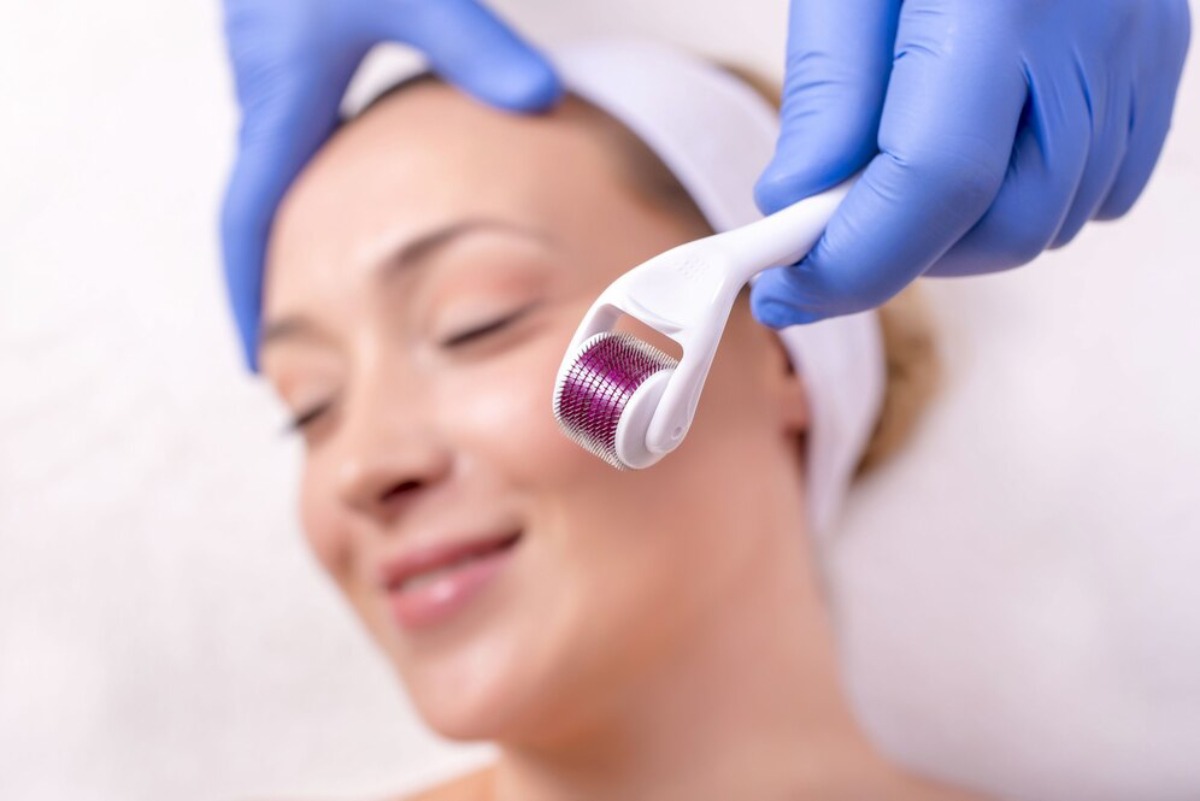
Micro-needling, or collagen induction therapy, is an art and a science. This new method uses a device with tiny needles. It makes gentle, precise punctures in your skin. These small changes trigger your body’s healing response. They increase collagen and elastin production. These proteins serve as your skin’s scaffolding, keeping it firm and supple. Thus, micro-needling is a formidable opponent in the battle against time and ageing.
The Allure of At-Home Micro-Needling
- Affordable Option: Professional micro-needling can be pricey. You may need several sessions to see great results. At-home devices offer a wallet-friendly twist, empowering you to treat your skin whenever the mood strikes.
- Convenience and Flexibility: Say goodbye to the hassle of scheduling treatments. At-home micro-needling is an easy way to add this refreshing step to your skincare—there’s no need to visit a clinic!
- Skin Rejuvenation: Regular micro-needling reveals a smoother surface. It reduces scars and fine lines. The surge in collagen fosters a plumper, more youthful appearance, turning back the clock one treatment at a time.
- Customization Galore: Home devices come with various needle lengths, allowing you to tailor your experience to your skin’s needs and sensitivities.
Real-Life Applications and Data-Driven Insights
Research backs micro-needling’s prowess in enhancing skin quality. The Journal of Clinical and Aesthetic Dermatology reported that micro-needling greatly improved acne scars and skin texture after multiple treatments. The Journal of Cutaneous and Aesthetic Surgery highlighted its ability to boost collagen production. This results in firmer, more resilient skin.
Step-by-Step Guide / Actionable Insights

How to Perform Micro-Needling at Home Safely
Embarking on a home micro-needling adventure requires preparation and adherence to best practices.
Preparing Your Skin
- Cleanse Like a Dream: Start with a gentle cleanser to banish dirt, oil, and makeup. This crucial step prevents bacteria from sneaking into your microchannels.
- Disinfect Your Device: Grab some rubbing alcohol to sterilise your micro-needling tool. Cleanliness is key!
- Apply Numbing Cream (If Needed): If you’re sensitive to discomfort, apply a numbing cream to ensure a more comfortable experience.
Performing the Treatment
- Select the Right Needle Length: A 0.25mm to 0.5mm needle length is ideal for home use. Save longer needles for professionals.
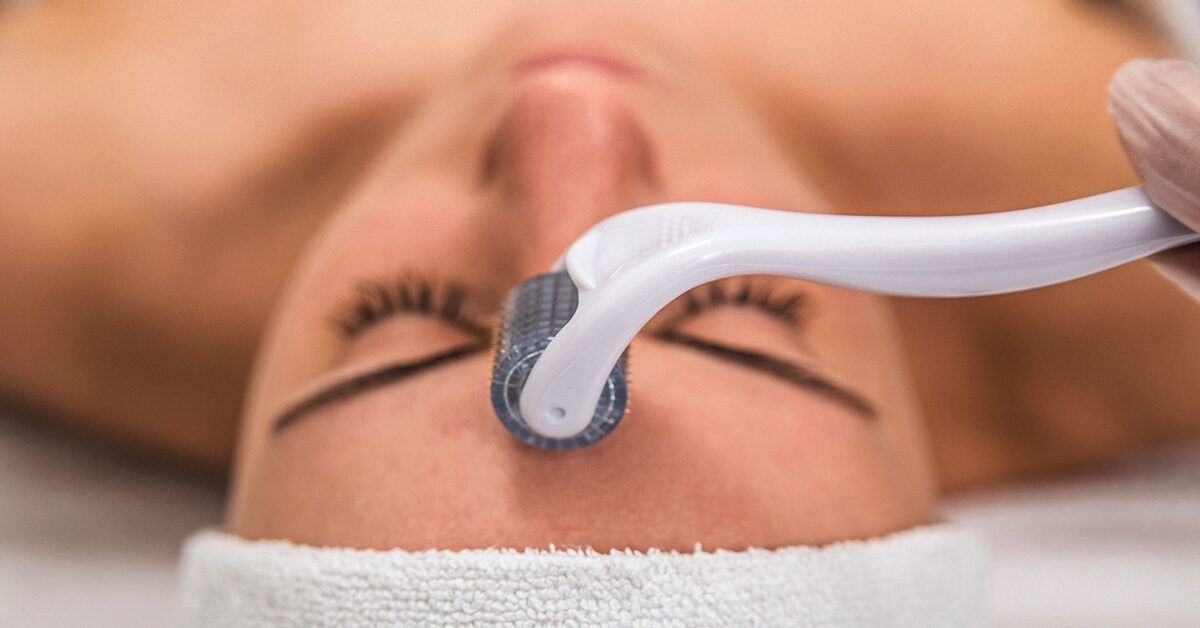
- Roll or Stamp Gently: Depending on your device, roll or stamp it systematically across your skin. Avoid excessive pressure; there’s no need to cause a ruckus!
- Target Problem Areas: Focus on spots with scars or uneven texture, but ensure even facial coverage.
Post-Treatment Care
- Apply a Serum: After treatment, indulge your skin with a hydrating serum rich in hyaluronic acid or peptides. These micro-channels amplify product absorption, maximising benefits.
- Steer Clear of Makeup and Sun: For 24 hours, let your skin bask in recovery by avoiding makeup. Then, reach for a broad-spectrum sunscreen to protect against the sun’s UV rays.
- Maintain Hygiene: Clean your device thoroughly post-use and store it safely in a dry nook.
Examples and Case Studies
Numerous individuals share glowing testimonials about their at-home micro-needling victories. A user on a renowned beauty forum noted remarkable improvement in acne scars after diligently using a 0.5mm roller for six months. A 40-year-old woman saw fewer fine lines and better elasticity after she added micro-needling to her self-care routine.
Advanced Insights / Expert Recommendations
Choosing the Best At-Home Micro-Needling Devices
With a sea of devices available, selecting the right one may feel daunting. Consider these expert recommendations:
- Derma Rollers: The go-to for home use; seek rollers with titanium needles for durability and effectiveness.
- Derma Pens: For precision seekers, derma pens target specific areas. Many offer adjustable needle lengths for personalised treatments.
- Electric Micro-Needling Devices: These advanced tools provide steady pressure and depth. This helps reduce user errors. They are perfect for those already in the micro-needling game.
Unique Industry Perspectives
While home micro-needling offers remarkable perks, experts advise caution. Without professional guidance, stick to devices with needle lengths under 0.5mm. See a dermatologist first if you have active acne, eczema, or rosacea. Micro-needling might make these conditions worse.
Additional Expert Tips & Common Mistakes to Avoid

Best Practices for Optimal Results
- Consistency is Crucial: As with many skincare treatments, micro-needling flourishes regularly. Aim for sessions every 4-6 weeks, tailored to your skin’s endurance.
- Hydrate and Nourish: Nurture your skin’s recovery. Drink plenty of water and embrace a balanced diet brimming with vitamins C and E, vital for collagen production.
- Patch Test New Products: Before using new post-care serums, do a patch test to avoid surprises.
Common Mistakes and Misconceptions
- Overuse is Overrated: Remember, moderation is your friend. Too much micro-needling can irritate your skin. Stick to recommended intervals.
- Improper Sterilization: Neglecting to disinfect your device may invite bacteria. Hygiene should always top your to-do list.
- Ignoring Aftercare: Post-treatment care is your golden ticket to achieving harmonious results. Skipping sunscreen or using harsh products can nullify micro-needling’s magic.
Conclusion: Unlock Radiant Skin with At-Home Micro-needling
Micro-needling at home is a great choice for anyone wanting to refresh their skin. It also helps boost collagen production. Plus, it’s more affordable than professional treatments. Know the pros and cons. Follow best practices and choose the right device. This way, you can safely add this technique to your skincare routine.
As you embark on your micro-needling journey, remember that patience and consistency are key. Results take time, but with dedication, you can get a smoother, youthful complexion. Try at-home micro-needling. It can bring amazing benefits. Go for it! Always prioritise safety and consult with professionals if in doubt. Your skin will thank you for it.


